
Android Car Stereo Installation
Android Car Stereo Installation Guide
Tools You’ll Need
-
Plastic trim removal tool
-
Screwdriver (Phillips / Torx, depending on vehicle)
-
Clean cloth
1️⃣ Disconnect the Battery
Always disconnect the negative terminal of your car battery before starting to avoid short circuits.
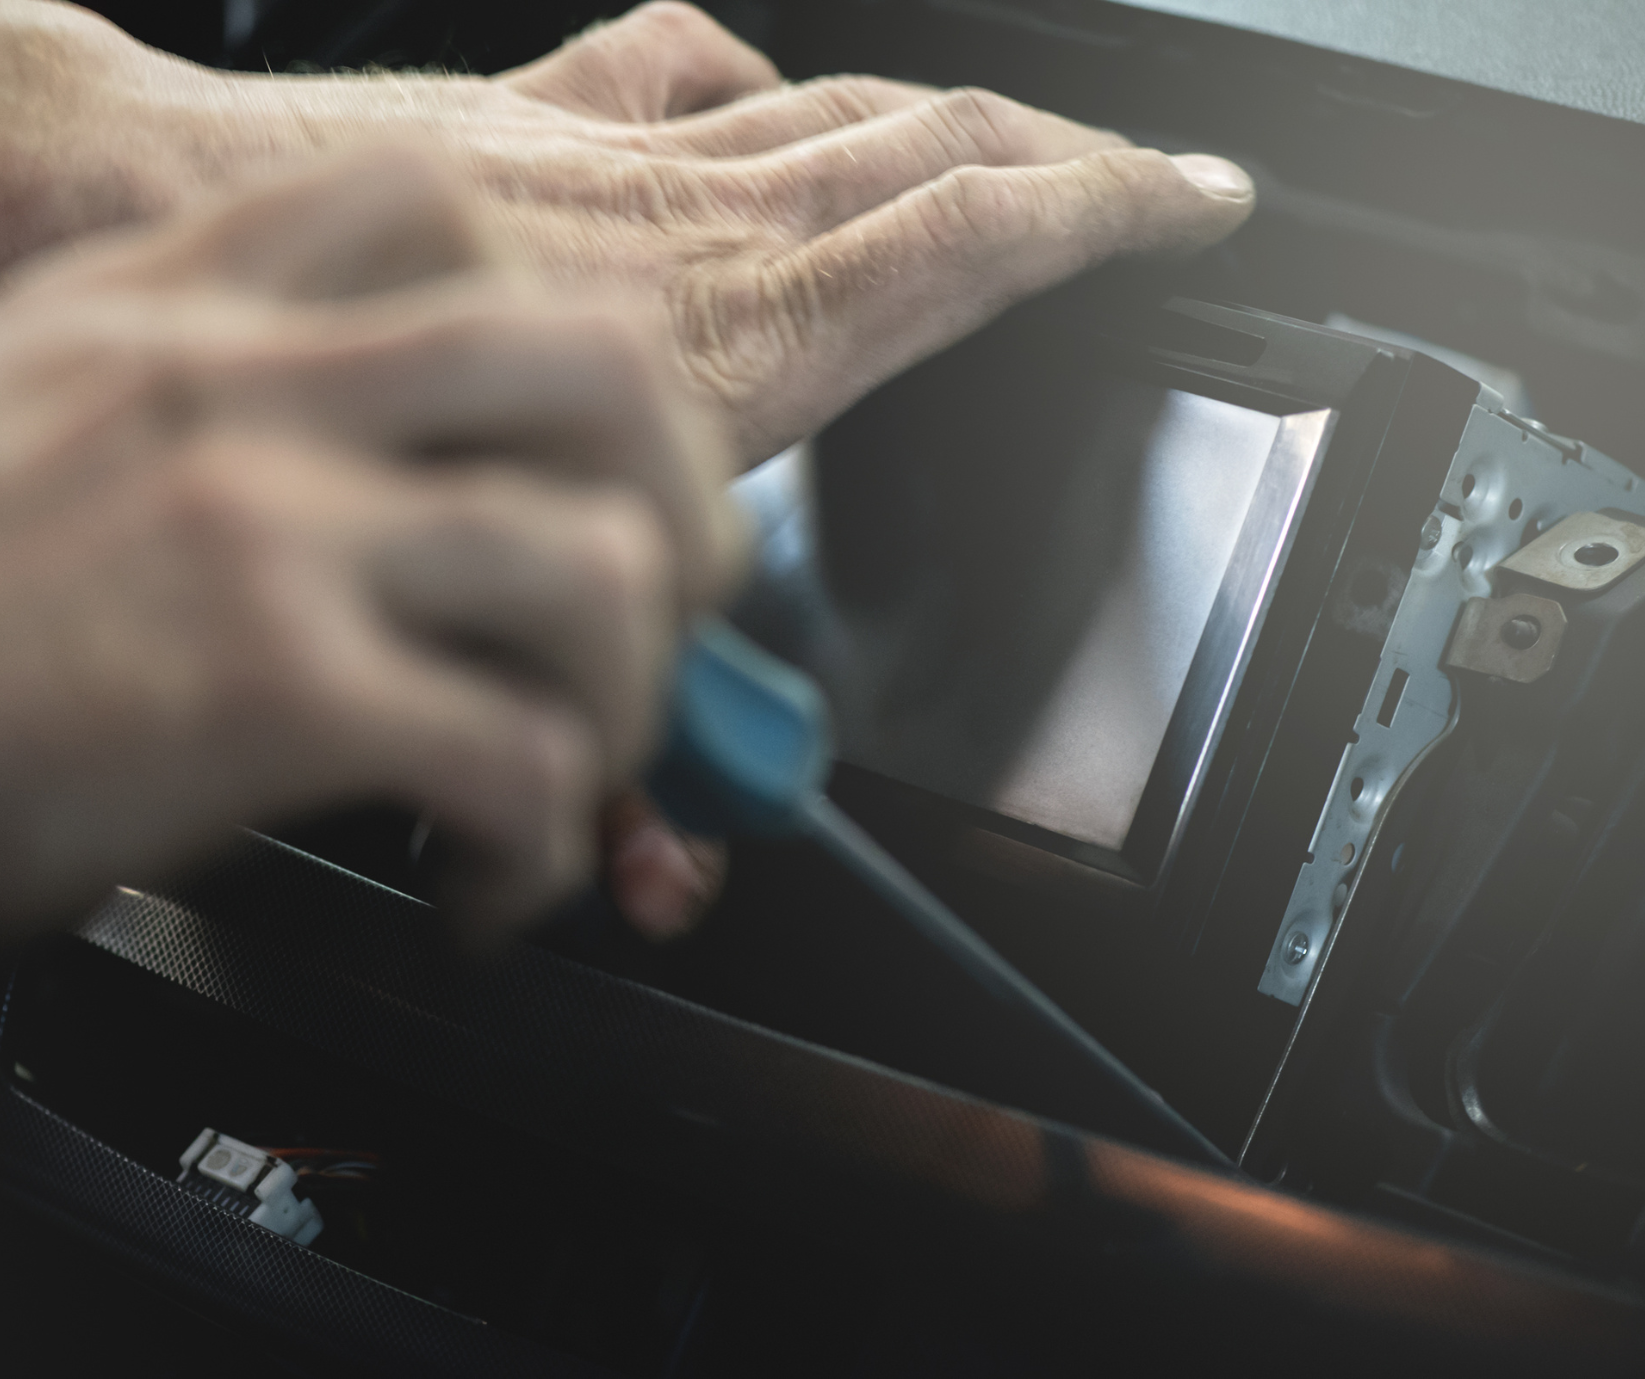
2️⃣ Remove Existing Head Unit
-
Remove dashboard trim carefully with a trim tool.
-
Unscrew and slide out the factory stereo.
-
Disconnect all cables.
3️⃣ Prepare Android Stereo
-
Connect wiring harness and CANBUS box.
-
Attach GPS + Wi-Fi antenna [If Included]
- Connect RCA, Camera output, USB Cables.
4️⃣ Connect to Car
-
Plug into the car’s original connectors.
-
No cutting or splicing required.
5️⃣ Fit Stereo
-
Slide unit into place.
-
Secure with screws.
6️⃣ Test Functions
-
Reconnect battery.
-
Test sound, steering wheel controls, parking sensors, CarPlay / Android Auto, and GPS.
7️⃣ Refit Trim
Snap dash panels back into place once confirmed everything works.
Additional Notes
✔ Compatible with original car functions (PDC, steering buttons, etc.)
✔ Supports reversing / dash camera (see separate camera guide)
✔ Professional installation recommended for complex setups
- Choosing a selection results in a full page refresh.
Company Information
S&D ASSISTANT LIMITED
Company Number: 12015852
Trading as Pluscenter
Registered office: 55 Kingsway Swinton Manchester M27 4JW. Contact details: support@pluscenter.co.uk
Follow us
!